There are some times when you should turn off your WordPress site and put it into the maintenance mode. For instance, when you update the WordPress core features, putting the site into maintenance mode and making it inaccessible will prevent visitors from experiencing instability or even downtime which can irritate them.
The deeds also work when you switch the theme of your site or update important plugins. Telling visitors that your site is under maintenance or update shows visitors your respect to them and your care about their feeling.
Generally, you can get into the maintenance mode in 3 ways: using the WordPress built-in maintenance page, modifying the .htaccess file to control the directory and file permissions, and using a plugin. Here we will discuss the last method only as it is highly customizable and suitable for all skill levels.
For plugins, we would recommend WP Maintenance Mode, the most popular one in its kind. With the plugin you can create a beautiful splash page, add a contact form, exclude URLs, etc.
Install WP Maintenance Mode and Deal with General Settings
After installing this plugin and activating it, you now need to go to the Settings > WP Maintenance Mode page to handle the configuration of the plugin. Under the General tab, you are faced with the following options. Follow the explanations and suggestions below to get the options right for your needs.
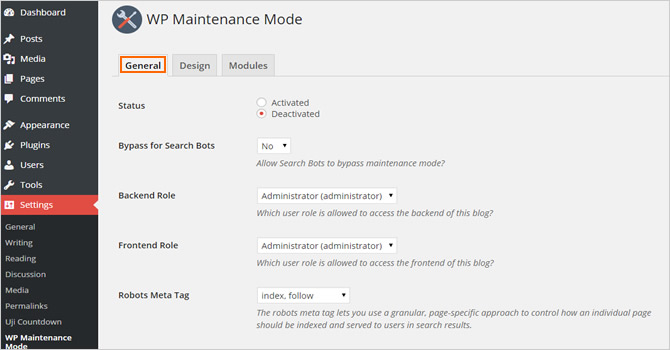
- Status. By default, the status is set as “Deactivated”. To put your WordPress site into maintenance mode, you need to choose “Activated”.
- Bypass for Search Bots. Keep the default value unless you want search engines to see your website during the maintenance.
- Backend Role. While your site is in the maintenance mode, you can still login to the dashboard and make changes. The user role selected will have full access.
- Frontend Role. The selected user role can view the frontend of your site. It is set to be “Administrator” by default.
- Robots Meta Tag. This option lets you control how the individual pages on your site will be indexed. If you select “index, follow”, you are allowing search engine spiders to index the whole site during maintenance. For the “noindex, nofollow” option, you stop spiders from looking at the page and crawling through any other pages.
- Redirection. In the case that you want to redirect users to another URL after login, you can fill in a new address, or you can leave the box blank.
- Exclude. As the plugin allows you to exclude certain pages, archives, IPs and feeds from maintenance mode, you can add the slugs to make them accessible.
- Notice. If you do not want to see notices for the activation of maintenance mode, choose “No”.
- Dashboard Link. Choosing “Yes” will add a link to the dashboard on the maintenance mode page. We prefer to set it as “No”.

Once all the settings are satisfactory, click the button on the bottom saying “Save settings”. Please note that we do not recommend activating the maintenance mode at the very beginning because turning it on after configuring the design and modules will deliver a better browsing experience.
Make a Custom Maintenance Page
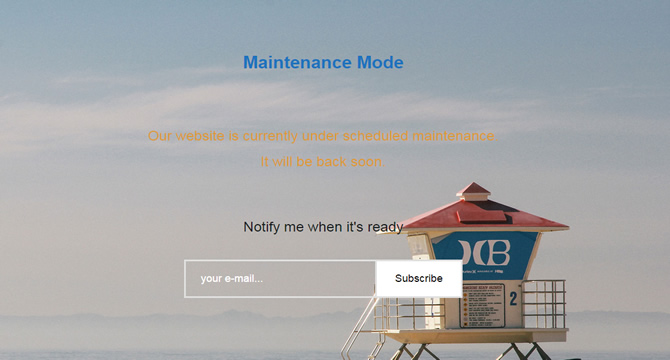
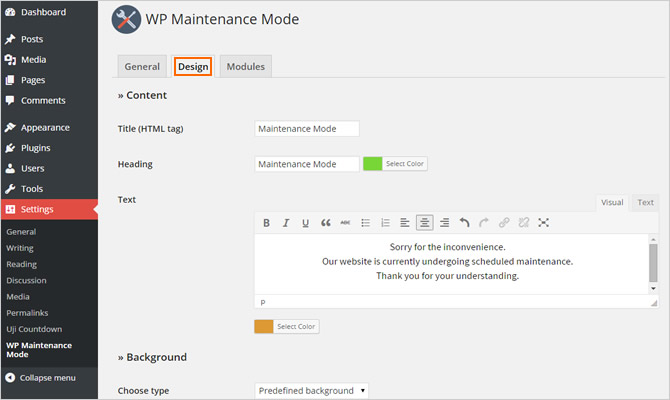
Under the Design tab, you can customize the maintenance page which tells visitors that your site is under some changes. You can add any content, and change the background as you like. For the Content part, you need to fill in the Title, Heading and Text, select the color for Heading and Text, and format the Text in any way.
In terms of the Background, you may choose a custom color, upload a new background, or use the predefined backgrounds. Therefore, you are able to give a stunning design to the page and make it a pleasure to see.
Customize the Features of the Maintenance Page
Since WP Maintenance Page comes with a large bundle of features, you can further customize the maintenance page to make it more functional. In below, we will discuss the most useful features included in the Modules tab.
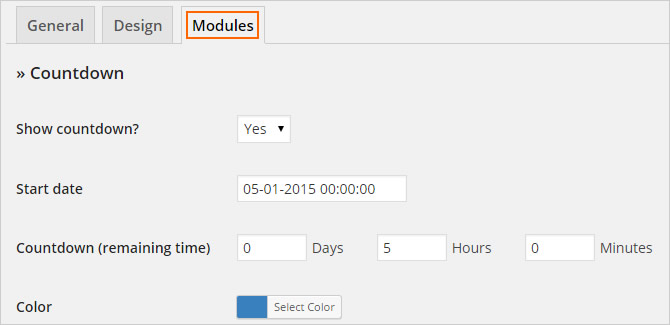
Add a countdown timer
The first thing you can do within Modules is to add a countdown timer which shows visitors how long they still have to wait before the site becomes available. To finish this task, just select “Yes” to Show Countdown, set the start date and remaining time, and pick a color.
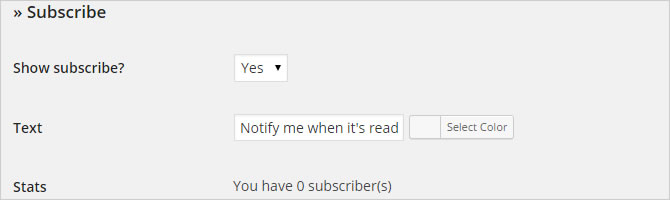
Insert a newsletter signup form
Adding a signup form enables your visitors to subscribe to the information about your site and get notified when the site turns alive. You can customize the text that is going to be shown on the maintenance page, and see how many people have subscribed to your newsletter.
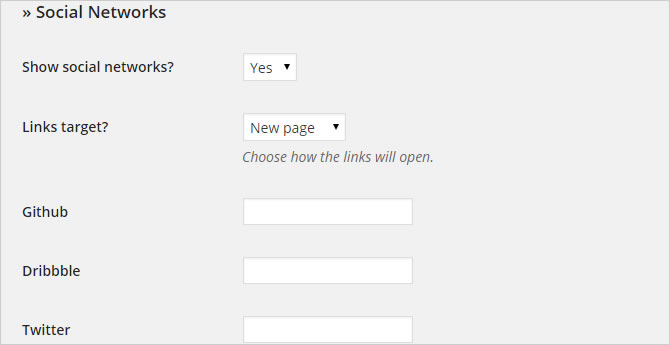
Add social network icons
Filling in your social networking addresses for Twitter, Facebook, Google+, LinkedIn, Dribbble and Pinterest, you will show their icons on the maintenance page through which visitors can visit your profiles on those social networks. The Links Target should be set at “New Page” if you want the social links to open in a new window.
Besides the topics discussed above, you can also add the contact information to allow visitors to get in touch with administrators directly, and use Google Analytics for tracking. After you save the settings, you have made an effective and efficient maintenance page. Your access to both the frontend and backend of your site will not be affected.
Related Posts
 How to Add and Use Breadcrumbs in WordPress
 How to Add Dynamic Sidebars to WordPress
 How to Add an Opt-in Form to Your WordPress Site
 How to Make Your WordPress Blog Private & When You Should Do
 Bolt Review – Is It Easy-to-Use and Powerful for Blogging?
 How to Integrate Facebook Login & Comments in WordPress
 How to Set Up WordPress SEO by Yoast
 How to Add a Weather Forecast Widget to Your WordPress Site