
Generally, when you set up a new WordPress site, you need to add an opt-in form to collect your visitors’ e-mail addresses; otherwise it will be impossible for you to contract these people again with a view to sending them e-mails about the news of your website.
An opt-in form is a mini form embedded into the website, which needs people to fill it out. Therefore, whenever your readers go to your blog or website, they can find a clear place to type in their name and email with an intention to receive further information from you. To be frank, while keeping in touch with site visitors become more and more difficult, adding an opt-in form can be very useful.
In this article, we have presented a step by step guide on how to enter an opt-In form to your WordPress site, so you can start capturing emails to drive traffic or market your products.
Get an Aweber Account
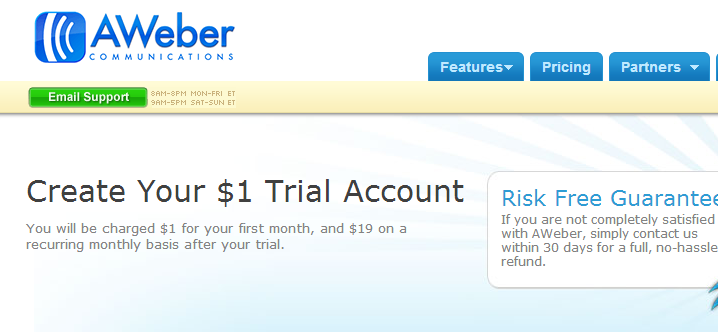
Aweber is the most widely used email marketing software, offering professional opt-in form to create a tight relationship between your visitors and WordPress site. All you need to do is go to www.aweber.com, and create your account for just $1 with a trial one. The whole process is quite simple. After filling out the login information, billing information, and clicking on the Complete button, you can get your own Aweber account at once.
Create and Manage Lists
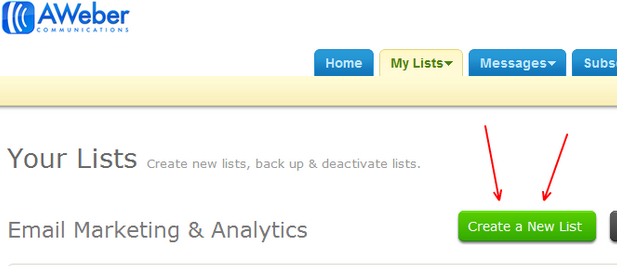
Login to your new account by entering your ID and password, and go to Aweber dashboard. Once you inside the page, the first thing is clicking the Create and Manage Lists button which is on the top of the whole page, and then Create a New list button. Then, you need to create the list for your site by completing the list name, list description, email address, and click Save Settings.
Create a New Form
Click the Web Form button on the top bar, and then Create a New Form button in the next page. Now, you can choose from a lot of form templates with different colors and styles, change the background color, add an image and form description, and make whatever form size you want by stretching the sample one below templates. Generally, a simple opt-in form will be more preferred by new visitors. Besides, the sample form offered by Aweber contains 2 additional sentences which you can see in the following picture, and we highly recommend you getting rid of them.
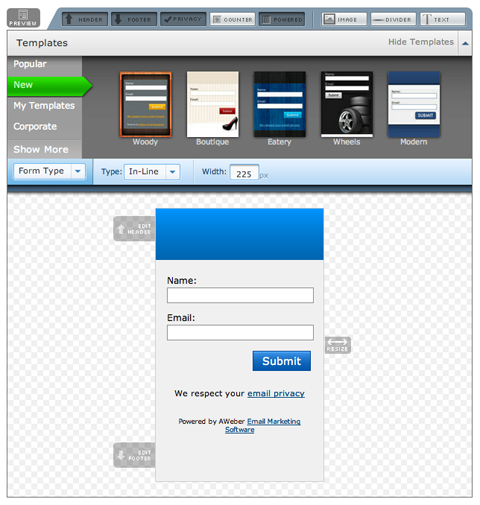
Note that your aim is to get people into your email list, so you’d better not to ask tons of information to irritate them. Only ask the first name and email address will be enough.
Add the Form to Your Site
After adjusting the appearance of your form, then you need to fill out its basic settings in step 2 and step 3, such as the form name, Facebook integration, thank page, and finally save your form.
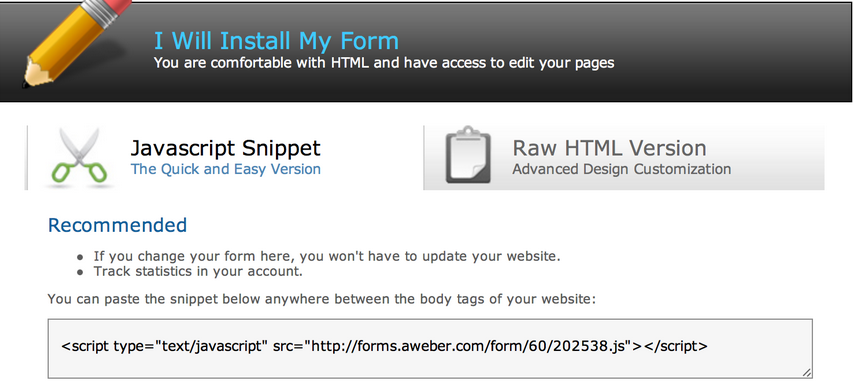
Now, you have to install the form by clicking I Will Install My Form button in step3, and grab the little HTML code generated by Aweber.
Open the dashboard of your WordPress site, and scroll down to Widget button. Grab a text box to the sidebar section, paste the HTML code into it, and click the save button.
Now, you have successfully added an opt-in form to your site, and if you want to make some adjustment, you can go to the Web Form section of your Aweber account again, choose your newly created form, and make some edits to it.
Related Posts
 How to Add Facebook Like Button to WordPress
 CAPTCHA Tutorial – Add CAPTCHA to Form on Your Site
 How to Create a Stunning Custom WordPress Login Page
 How to Use MailChimp to Enrich Your Email Marketing Strategies
 How to Put WordPress Site into Maintenance Mode without…
 8 Email List Building Strategies That Enhance Your Website…
 How to Allow Users to Submit Posts to Your WordPress Site at…
 How to Create a New Email Account in vDeck, cPanel & Plesk