If you are running multiple sites and wish to point them to the primary hosting account, then the WordPress multisite domain mapping can help you a lot. In this way, you are allowed to map those sites to your initial domain. For instance, you are running a website called http://yourwebsite.com and include a Blog page in it called http://yourwebsite.com/blog. The domain mapping is created to replace the Blog page URL to http://www.blog.com.
Here, we would like to make a guide on how to carry out WordPress multisite domain mapping by using WordPress MU Domain Mapping plugin. This is one of the most popular plugins used for domain mapping and comes with a series of advanced features. Before everything, you need to make sure that you have enabled multisite network.
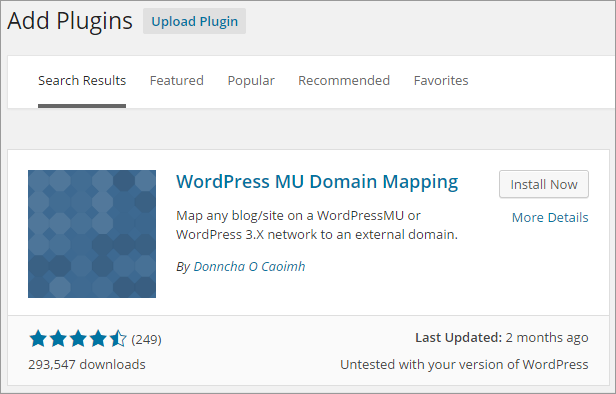
Install WordPress MU Domain Mapping Plugin
To cut out the step of updating plugin, we suggest you to install this plugin via your WordPress dashboard. Log into the dashboard and go to Plugins > Add New. Search for WordPress MU Domain Mapping and click Install Now. Activate this plugin and make it work properly.
And then, you are required to locate the sunrise.php file by using FTP or doing it via control panel. Here, we are going to do this via cPanel, which is the most popular control panel in this field. Log into cPanel and target Files > File Manager. Select the domain that needs to be managed and then click Go button. Go to wp-content/plugins/wordpress-mu-domain-mapping/sunrise.php.
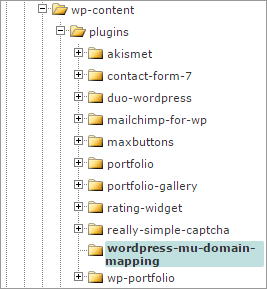
You need to move this file to wp-content folder. Right click the sunrise.php and pitch on the Move option. Modify the path /public_html/xxx/wp-content to the specific blank and then click Move File(s) button. Move the domain_mapping.php file to wp-content folder in the same way.

Find out the wp-config.php file and open it in a text editor. Add the following code to this file and save it as well. Make sure that the code should be placed below /* That’s all, stop editing! Happy blogging. */
define( 'SUNRISE', 'on' );
Configure WordPress MU Domain Mapping Plugin
And now, you have successfully installed this plugin. It’s time to configure it and make full use of it! Go to your website backend > Settings > Domain Mapping and enter your dedicated IP address in the Server IP Address field. You are able to find your IP address via the control panel being used. For example, if your website integrates with cPanel, then the IP address can be found in the sidebar.
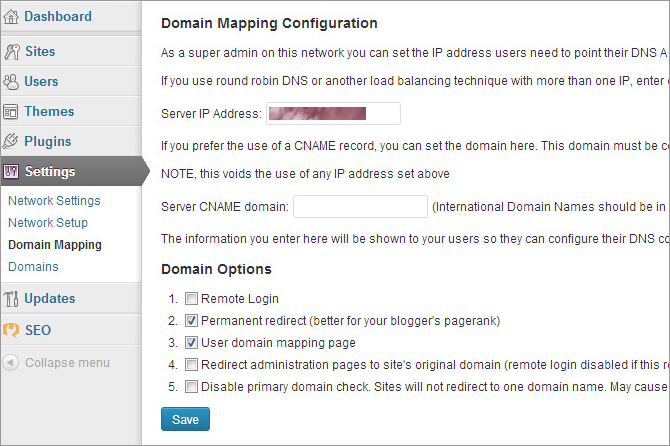
Note that, there are 5 optional Domain Options available for you, which allow you to make a choice according to your own needs.
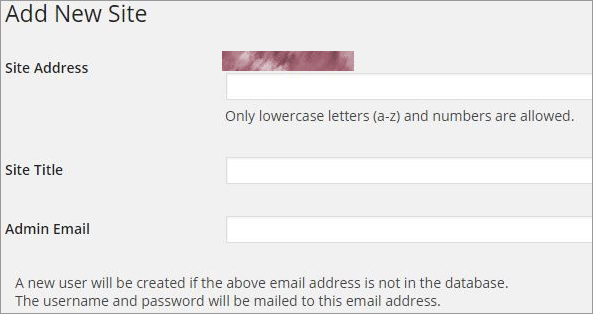
And then, create an additional site via WordPress Dashboard > Sites > Add New. You are required to fill out site address, site title and admin email properly.
Go to Settings > Domains > New Domains and fill out the information of site ID and domain. Click the Save button to confirm all changes.

Log into cPanel and access to Domains > Parked Domains. Enter the domain name that you have confirmed in the last step. Click the Add Domain button. And then, you are required to update the server where the new domain is parked. Once the domain provider brings the domain into effect, you can check if the site works well via a browser. Note that, you may take a few minutes or even a dozen hours to finish the whole process.
To be honest, these are one of the best web hosting companies offering the premium solutions coming with cPanel shown in the following table. They all guarantee to provide you with responsive technical support and deal with your any issues as soon as possible.
Related Posts
 How to Setup WordPress Multisite & When Should You Do That
 How to Replace Image and Media Files in WordPress Easily
 How to Add Favicon to Your Website
 Differences among Sub, Parked, and Addon Domain
 How to Move to a New Domain Name Without Losing Google Ranking
 How to Allow Users to Login with Email in WordPress
 Add an Admin to WordPress Using SQL Queries via PHPMyAdmin
 How to Install WordPress Plugins to Add Functionality to Your…