Running online stores using the best Magento hosting, a large number of our readers wrote to us asking for help on how to install a Magento extension to improve their stores, many of who have installed a suitable Magento theme to boost visits and sales with beautiful design after finding the best Magento themes from one of our previous articles.
To provide those people with the easiest and most effective methods, we have read a lot of related articles and detailed video tutorials on the web. In addition, we have asked many experienced Magento users who have successfully installed Magento extensions for advice. According to the information we collected online and suggestions from real persons, we got the method to install a Magento extension using Magento Connect and learnt the manual installation process. Now, move on to learn the details in the following parts.
Install a Magento Extension Using Magento Connect
Using Magento Connect to install a Magento extension, you first need to have a Magento Connect account and a Magento Admin account with the access to Magento Connect Manager. After getting the accounts, you need to find the link of the extension you would like to install at your site. Next, log into Magento Connect, accept the license agreement, and copy the extension key.
Next thing is to log into the admin console of your store and go to Magento Connect Manager. In this page, we suggest you to enter your administrator credentials again to install an extension from the Connect Manager. Therefore, your account must be with full access to the administration console, because if there are limits, you are prevented from proceeding.

After logging into Connect Manager, paste the extension key you have copied into the box in the second part under “Install New Extensions”. Then, click “Install” button and click “Proceed” button, then you can see a systems window at the bottom of this page showing the progress of your installation.
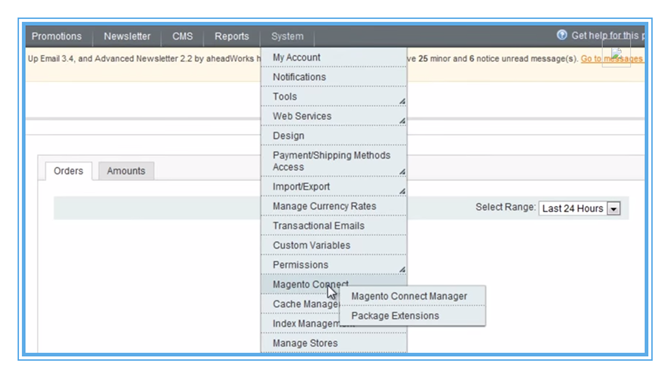
Now, you have successfully installed the extension you chose using Magento Connect. Then, test thoroughly before enabling the cache/compilation again. If there is no problem, repeat the steps you have gone through on your live site and remember to back up all files and databases before installing.

Install a Magento Extension Using SSH
 Compared with installing an extension using Magento Connect, many people prefer to install it using a hands-on method, like using SSH because they like to control the process instead of using a tool to carry out their orders.
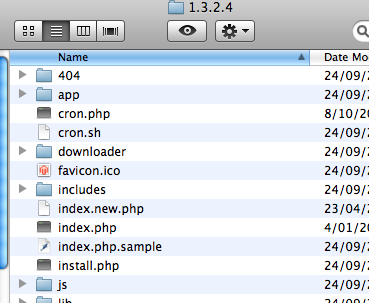
Using SSH to install an extension requires the extension key from Magento Connect, all files of this extension and an SSH account to your site. After saving the extension file in your home directory, to install the extension you like using SSH, you need to use WinSCP and go to your home directory where you have saved the file of your saved extension. Now, run commands in the following screenshot to upload the file to your server home directory.

As soon as you have put the file on your server, go to directory and begin to install the extension by run commands ssh username@server. Next, run the following commands to unzip the extension file in a temporary directory to prevent untidy things.
At this time, you need to run commands in the screenshot to check your work.

If the work looks great, put the temporary folder where you want. If you have a public_html directory that is the root of Magento installation in your home directory, put all files where they supposed to be and clear the cache.

Install a Magento Extension Using FTP
It only takes a few steps to install a Magento extension using FTP. You first need to download the extension files into your home directory and decompress the files into a temporary directory where you are able to see several folders like below.

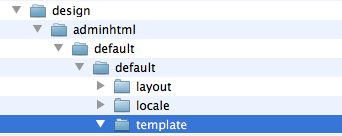
Your target Magento extension install should like that in the following screenshot. Then, put the Aschroder folder into the community folder under code within app and put the module file into the app/code/modules directory.
The next step is to put smtppro templates into the default adminhtml templates directory. Last, refresh cache and complete the installion of an extension.
Related Posts
 How to Install Magento Theme to Boost Visits & Sales with…
 How to Set up a Forum Using Joomla?
 WooCommerce VS Magento on eCommerce Usability
 How to Download & Install phpMyAdmin
 How to Install WordPress Manually?
 Common Joomla Security Issues – How to Improve the Security of…
 How to Move WordPress from a Subdirectory to the Root Directory?
 Magento VS BigCommerce – Which Is Better for Your eCommerce?